
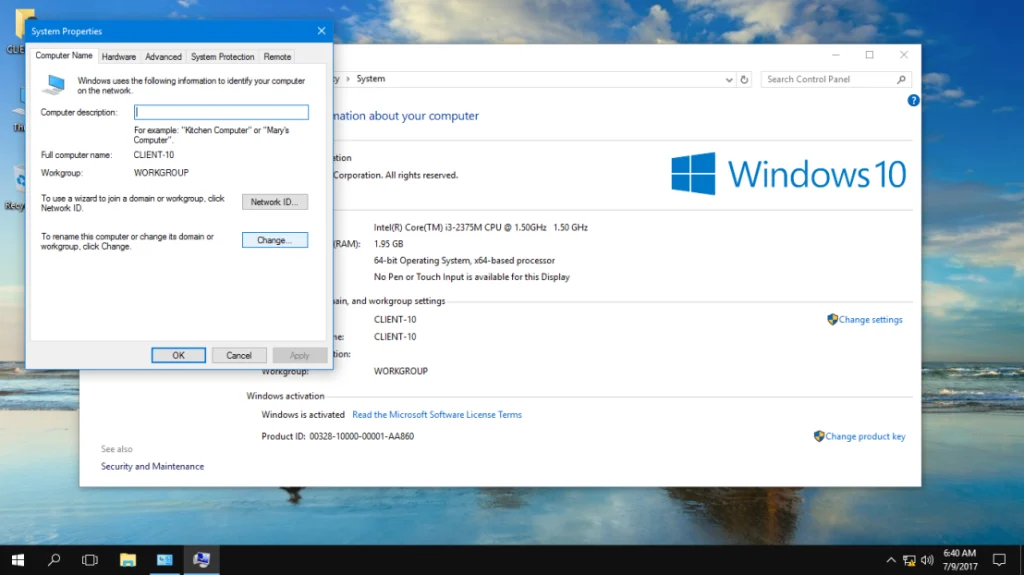
Adding a computer to a domain allows it to be managed by Active Directory and enables users to log on to the domain from that computer. Here’s how to add a computer to a domain in Windows Server 2022:
Prerequisites
- Domain Controller: Ensure you have a functioning domain controller with Active Directory installed and configured.
- Domain User Account: You need a domain user account with permissions to add computers to the domain.
- Network Connectivity: The computer must be able to communicate with the domain controller over the network.
Steps to Add a Computer to the Domain
- Prepare the Computer:
- Ensure the computer you want to add to the domain is connected to the network and can reach the domain controller.
- Log in to the computer with an administrator account.
- Open System Properties:
- Press
Win + Rto open the Run dialog. - Type
sysdm.cpland pressEnterto open the System Properties window.
- Press
- Change Computer Name/Domain:
- In the System Properties window, go to the
Computer Nametab. - Click on the
Changebutton.
- In the System Properties window, go to the
- Join the Domain:
- In the
Computer Name/Domain Changeswindow, select theDomainoption. - Enter the domain name you want to join (e.g.,
example.com). - Click
OK.
- In the
- Provide Domain Credentials:
- A prompt will appear asking for credentials. Enter the username and password of a domain account with permissions to add computers to the domain.
- Click
OK.
- Restart the Computer:
- After the computer is successfully added to the domain, a welcome message will appear.
- Click
OKand thenClose. - You will be prompted to restart the computer. Click
Restart Nowto restart immediately orRestart Laterif you need to save your work first.
Post-Domain Join Steps
- Verify Domain Join:
- After the computer restarts, log in with a domain user account.
- Open
System Propertiesagain (Win + R,sysdm.cpl) and verify that theComputer Name/Domainsection shows the domain name.
- Move Computer to an Appropriate OU (Optional):
- Open
Active Directory Users and Computerson the domain controller. - Navigate to the
Computerscontainer or the OU where the computer was added. - If needed, move the computer object to a more appropriate OU by right-clicking the computer object, selecting
Move, and choosing the desired OU.
- Open
- Apply Group Policies:
- Ensure that the computer receives the appropriate Group Policies by running
gpupdate /forcein an elevated Command Prompt on the client computer. - Verify that the policies are applied correctly by running
gpresult /r.
- Ensure that the computer receives the appropriate Group Policies by running
Example: Adding a Windows 10 PC to the Domain
- Prepare the Computer:
- Connect the Windows 10 PC to the network.
- Log in with an administrator account.
- Open System Properties:
- Press
Win + R, typesysdm.cpl, and pressEnter.
- Press
- Change Computer Name/Domain:
- Go to the
Computer Nametab. - Click
Change.
- Go to the
- Join the Domain:
- Select the
Domainoption. - Enter the domain name (e.g.,
example.com). - Click
OK.
- Select the
- Provide Domain Credentials:
- Enter the domain user account credentials.
- Click
OK.
- Restart the Computer:
- Click
OKto the welcome message. - Click
Closeand thenRestart Now.
- Click
Summary
By following these steps, you can successfully add a computer to a domain. This allows the computer to be managed through Active Directory and enables users to log on to the domain from that computer.


