
Prerequisites
- VirtualBox Installed: Ensure VirtualBox is installed on your Windows PC. You can download it from the official VirtualBox website.
- Windows Server 2022 ISO: Download the Windows Server 2022 ISO file from the Microsoft Evaluation Center.
Steps to Install Windows Server 2022 in VirtualBox
- Open VirtualBox: Launch VirtualBox on your Windows PC.
- Create a New Virtual Machine:
- Click on the “New” button.
- Enter a name for your virtual machine (e.g., “Windows Server 2022”).
- Set the “Type” to “Microsoft Windows”.
- Set the “Version” to “Windows 2019 (64-bit)” (if Windows Server 2022 is not available).
- Click “Next”.
- Allocate Memory:
- Assign an appropriate amount of RAM for the virtual machine. A minimum of 4 GB (4096 MB) is recommended, but more may be required depending on your use case.
- Click “Next”.
- Create a Virtual Hard Disk:
- Select “Create a virtual hard disk now”.
- Click “Create”.
- Choose Hard Disk File Type:
- Select “VDI (VirtualBox Disk Image)”.
- Click “Next”.
- Storage on Physical Hard Disk:
- Choose “Dynamically allocated” to save space.
- Click “Next”.
- Specify the Size of the Virtual Hard Disk:
- Set the size of the virtual hard disk. A minimum of 40 GB is recommended.
- Click “Create”.
- Configure the Virtual Machine Settings:
- Select the newly created virtual machine and click on “Settings”.
- Go to “System” > “Processor” tab and allocate at least 2 CPUs.
- Go to “Storage”, click on the empty optical drive under the “Controller: IDE”, then click the disk icon to “Choose a disk file”.
- Select the Windows Server 2022 ISO file you downloaded earlier.
- Click “OK” to save the settings.
- Start the Virtual Machine:
- Select the virtual machine and click “Start”.
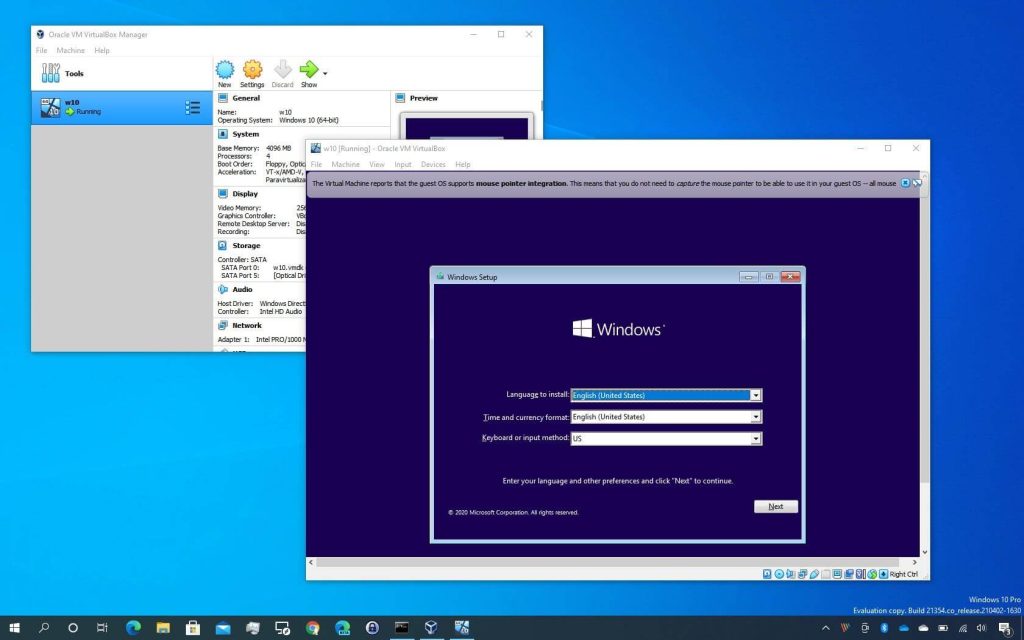
- The virtual machine will boot from the ISO file, and the Windows Server 2022 installation process will begin.
- Install Windows Server 2022:
- Follow the on-screen instructions to install Windows Server 2022.
- Choose the desired language, time, and keyboard settings, then click “Next”.
- Click “Install Now”.
- Enter the product key or select “I don’t have a product key” if you are using the evaluation version.
- Select the Windows Server edition you want to install (e.g., Standard or Datacenter) and click “Next”.
- Accept the license terms and click “Next”.
- Choose “Custom: Install Windows only (advanced)”.
- Select the virtual hard disk you created and click “Next”.
- Complete the Installation:
- The installation process will copy files, install features, and complete the setup.
- The virtual machine will restart several times during the installation process.
- After the installation is complete, follow the prompts to set up the administrator account and finalize the setup.
Post-Installation Steps
- Install VirtualBox Guest Additions:
- Once Windows Server 2022 is installed, you should install VirtualBox Guest Additions to enable better integration and performance.
- Go to “Devices” > “Insert Guest Additions CD image…” in the VirtualBox menu.
- Follow the on-screen instructions to install the Guest Additions.
- Network Configuration:
- Configure the network settings according to your requirements. By default, VirtualBox uses NAT, but you can change this to Bridged Adapter or other network settings as needed.
By following these steps, you should be able to successfully install and run Windows Server 2022 on your Windows PC using VirtualBox.

